 Add Row
  Add
Add 

Bring the Finnish Tradition Home: Building Your DIY Sauna
If you've ever dreamed of a sauna right in your own backyard or bathroom, you're not alone. In Finland, saunas are as common as homes; in fact, there are reportedly more saunas than people in the nation. This article guides you through the process of building a DIY sauna, blending comfort, wellness, and a personal touch.
The Benefits of a DIY Sauna: More Than Just Steam
Building a sauna isn't just about creating a luxury lifestyle element; it also offers tangible health benefits. Studies suggest that regular sauna sessions—typically ranging from 10 to 15 minutes—can enhance blood circulation, detoxify the body, and even uplift your mood by releasing endorphins. As more people turn to home projects that enhance well-being, a DIY sauna stands out as both a functional and therapeutic addition to any home.
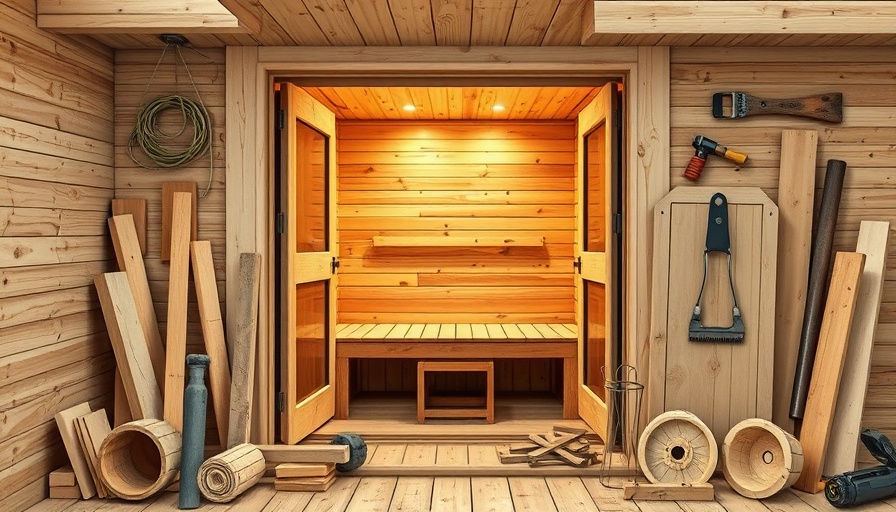
Choosing the Right Type of Sauna for Your Space
There are primarily six types of saunas identified by the North American Sauna Society, distinguished mainly by their heat sources: wood-burning stoves, electric heaters, steam rooms, infrared saunas, and more. For DIY enthusiasts, dry saunas are the way to go. Unlike their steam counterparts, dry saunas don’t require plumbing and can be safely tucked into small spaces, from a cozy corner of your bathroom to a dedicated outdoor spot. Their versatility allows for creativity, with sizes beginning at just 4x4 feet.
Step-by-Step Guide: Be Your Own Sauna Builder
1. **Select Your Location**: Whether indoors or outdoors, find a space that provides both practicality and privacy. An unused corner of your yard, or a vacant room in your home could serve perfectly.
2. **Gather Materials**: Decide whether you want to construct your sauna from scratch or purchase a DIY sauna kit. If you're considering a kit, ensure it includes all necessary interior materials.
3. **Build the Frame**: Using sturdy wooden studs, frame the walls and ceiling before adding exterior materials. A simple wood-based structure will suffice, but ensure it’s stable for long-lasting enjoyment.
4. **Choose Heating Options**: Based on your preference and intended use, decide between electric or wood-burning stoves. Electric options are generally easier to install and maintain.
5. **Add Personal Touches**: Once your sauna structure is complete, fun touches like lighting, benches, and decor can elevate the experience. Consider integrating elements that resonate with your personal style!
Incorporate Local Style: Carmel and Pebble Beach Inspirations
For those looking to add a luxurious edge to their DIY sauna, drawing inspiration from the distinctive architectural styles of Carmel and Pebble Beach can be particularly beneficial. Using high-quality materials like cedar not only enhances the aesthetic appeal but also ensures durability. Incorporating chic elements that resonate with the coastal vibe of these iconic locations can transform your sauna into a statement piece.
Enhancing the Experience: Essential Tips for a Perfect Sauna Session
What’s a sauna without the right atmosphere? To elevate your sauna experience, consider adding:
- A built-in sound system for calming music.
- Essential oils for aromatherapy; a few drops of eucalyptus or lavender elevate relaxation.
- Windows that provide views while maintaining privacy.
Each session will be uniquely relaxing, making it a treasure far more valuable than its construction cost.
Final Thoughts: Your Personal Retreat Awaits
Building your own sauna is not only a fun DIY project but also a rewarding investment in your health and lifestyle. Whether you’re dreaming of a simple retreat or a luxurious spa-like getaway, a DIY sauna can provide you with years of enjoyment. Ready to take the leap? Let us design, plan, and build your next home or remodel—call us at 831-521-7729.


 Add Row
  Add
Add 
Write A Comment